
|
Painshop Pro allows you to
captur screen images from your computer. This would be extremely helpful,
if
you decided to develop tutorials for computer programs. First let us
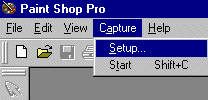
look at Paintshop Pro capture button. From the menu, choose
"Capture", and "setup" and click once.
|
|
|
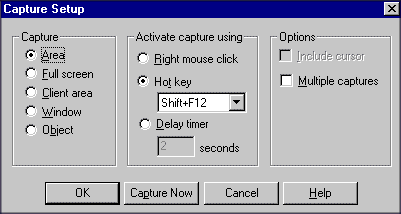
A new window "Capture Setup"
opens. It allows you to select "What to capture", and how to activate
the capture process. You can either choose the right button click
of the mouse, or set up a combination for yourself. In here the
SHIFT+F12 combination is selected. Press the "OK" button.
|
|
Again, from the menu, choose
"Capture", but now click on the "Start". Paintshop Pro is instantly
minmized and you are ready for capturing from your monitor screen.
|
|
The easier method is to use
Microsoft Windows 95 capabilities. Whenever you wish to capture a
screen image, just use your "Print Screen" button on your keyboard.
Then go to Painshop Pro, and from the menu choose "Edit", "Paste",
and "As new image". There you will have an image of the entire
screen. Use the "Selection" button to select an area of the image
that you want . then use Edit/Copy from the menu and again
Edit/Paste/As new image combination to create a new image that you
want.
|

