
|
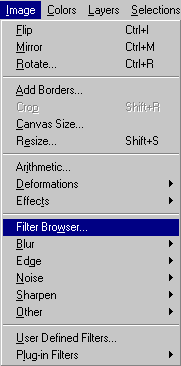
From the menu, choose "Image"
and then "Filter Browser".
|
|
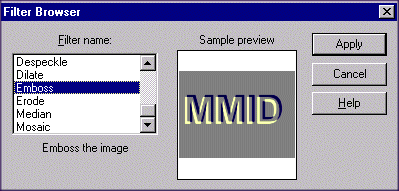
A new "Filter Browser" window
appears. As you select a special filter from the" Filter Name:"
window on the left, a sample preview is displayed in the small right
window. Select the "Emboss" option, and press the "Apply" button.
|
|
|
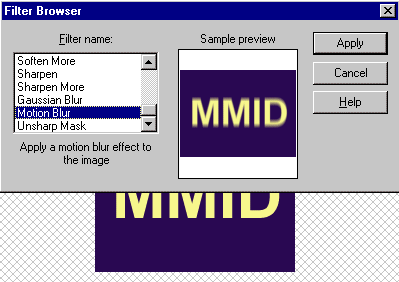
Selecting some filters will result
in an additional window to open which will provide you with parameters that
need to be selected. An example is the "Motion Blur" filter. When this
filter is selected and applied, an additional window will open.
|
|
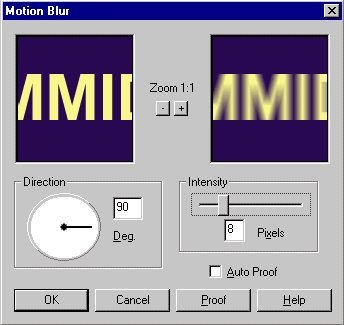
The new window will allow
you to edit the intensity and direction of motion which is causing
the blur. Set it to the values that you want and press "Ok".
|
|
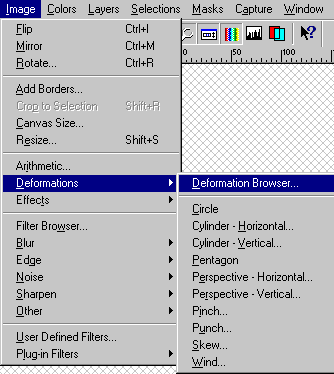
|
From the menu, choose "Image"
and then "Deformations" and "Deformation Browser".
|
|
A new "Deformation Browser" window
appears. As you select a special deformation from the" Deformation Name:"
window on the left, a sample preview is displayed in the small right
window. Process is similar to what you did in the Filter Browser and will not be repeated here. Again some deformations have additional window to set some parameters of that deformation.
|
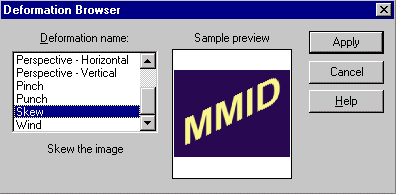
|
|
For our next special effect, we
need to do some preliminary work. First, press the undo button to remove
the effects of the "Motion Blur" deformation. Currently, we have a yellow
forground, and a blue background. We want to pick another background
color, other than blue. For the simplicity, let's just exchange the
foreground and background color by simply clicking once on the two small
arrows under the foreground and bacckground portions of the Color Pallete.
|

|
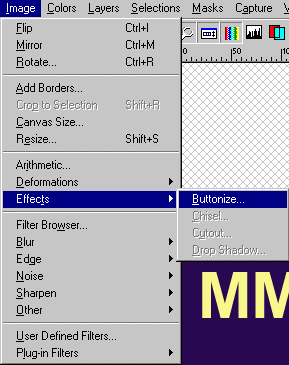
From the menu, choose "Image",
"Special Effects", and then select "Buttonize".
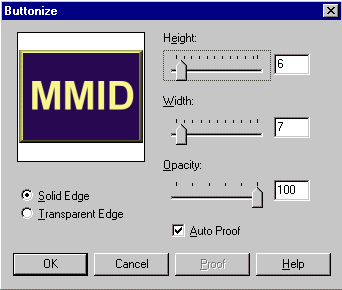
|
A new "Buttonize" window appears
with two options related to the edge characteristics and a
small "Preview" window. To create a button, Paintshop Pro uses the
current background color and mixes it with the image colors at the
edges. that is why we changed the background color of the image before
creating the button. Experiment with different values and
characteristics related to edge , then press "OK".
|
|