Paintshop Pro 5.0 Tutorial - Part 1


Step-By-Step Tutorial

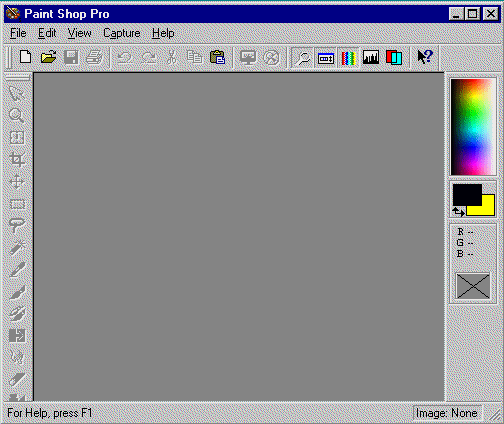
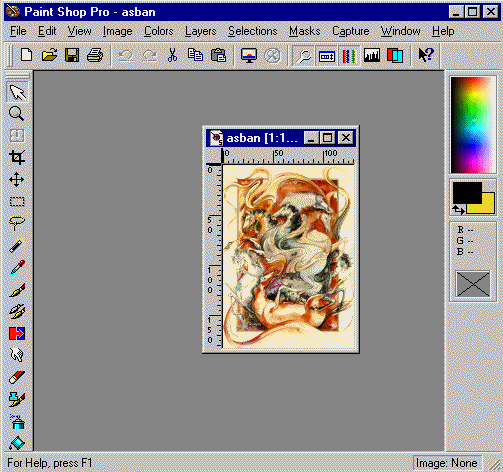
From the Windows 95 start the Painshop Pro program. Paintshop Pro 5.0 Window will look similar to the above image.


Make yourself familiar with the toolbar and the menu.

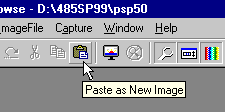
Place your mouse on a button on the toolbar and see what they are called.


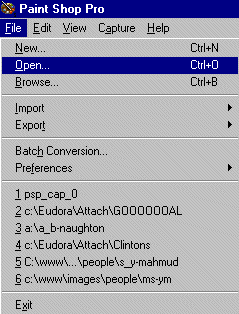
Repeat the same process with menu items such as File...

View...

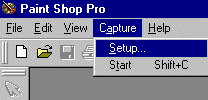
Capture, and so on.

Also notice that as you start working on an image, additional menu items appear and buttons which were not accessible originally, will become available. Compare this image with similar images earlier on this page.


Make yourself familiar with the Color Palette. On the Color Palette, you will notice three distinct areas. The top rectangle has many differet levels of colors in it. As you move your mouse over this rectangle, the mouse arrow sign changes into a "Dropper". As you move the mouse over different colors, notice that the single rectangle at the lower part displays the color that the Dropper is picking up. Also right above this rectangle the RGB values of that color, represented in a number betwwen 0-255, are also dispalyed.
The middle two overlapping rectangles represent the active foregroung and background colors. We can always toggle them by clicking once on the two perpendecular arrows to the lower left side of the rectangles.
When working with an image (coloring, writing, etc.), you can also use your left and right mouse buttons to represent foreground and background colors respectively.


Now Let us create an image...